Monday, December 17, 2012

iPhotography - Day 6 - Wrap-up & Product Testing


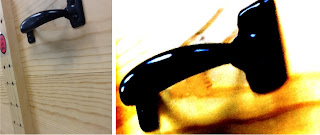
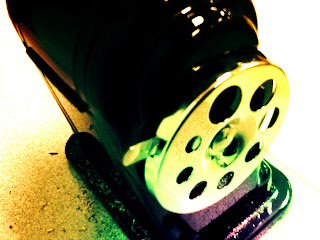
On day six, I brought in my magnetic iPhone camera lenses for students to check out. They could choose between a macro lens (close up), a telephoto lens (zoom), and a fish eye lens (this one is the most fun.)
They require an adhesive mount and are magnetic.

In addition, I introduced them to the app, "Blender". Aptly named, it allows you to blend two photos together. It's kind of like double exposure, but digital. It also introduced students to masking and arranging. 

Students also completed editing some of the photos that were still in their camera roll.

Here are the results:

Taken by Carly - grade 6

Taken by Carly - grade 6
Taken by Sophia - grade 6
Taken by Molly - grade 6

Taken by Carly - grade 6
Taken by Stacy - grade 8

Taken by Mitch - grade 7 - Blender app

Taken by Molly - grade 6

Taken by Olivia - grade 6

Taken by Molly - grade 6

Taken by Carly - grade 6

Taken by Carly - grade 6

Taken by Molly - grade 6 - Fish Eye Lens

iPhotography - Day 5 - Letters and Numbers


On day five students traveled the building in search for naturally occurring letters and numbers. They had to be creative and look for objects, collections of objects, or structures that formed numbers or letters of the alphabet. This proved to be the most difficult challenge yet. Some students need more time than we had available and therefore did some editing of other pictures they took around the school that day. 

Here are the results:

Taken by Sophia - grade 6 - the letter "P"
Taken  by Olivia - grade 8 - the letter "M"
Taken by Benjy - grade 6

Taken by Molly - grade 6


Taken by Olivia - grade 6
Taken by Molly - grade 6

Taken by Carly - grade 6

Taken by Mitch - grade 7


Thursday, December 13, 2012

iPhotography - Day 4 - New Subjects

On day four we started moving away from the classroom. Student Photographers explored the third floor to find new and interesting things to shoot, using the skills learned from the previous three days. Due to the increase in space, they came back with more photos than ever before. They settled in to edit their favorites.

Here are some of the results:
Taken by Carly - grade 6
Taken by Mitch - grade 7

Taken by Mitch - Grade 7

Taken by Olivia - Grade 8

Taken by Olivia - grade 8

Taken by Olivia - grade 6

Taken by Olivia - grade 6

Taken by Jared - Grade 8

Taken by Jared - grade 8

Taken by Olivia - grade 8

Taken by Sophia - grade 6

Taken by Sophia - grade 6

Taken by Sophia - grade 6

Taken by Carly - grade 6

Taken by Carly - grade 6

Taken by Carly - grade 6

Taken by Carly - grade 6


Friday, December 7, 2012

iPhotography - Day 3 (part two) - The Switch

For the second half of day three students started by collecting a few images of texture. I asked them to look through and pick their best shot. Once they had all chosen their image, I had them switch their iPad with someone else for the edit. The edit was done with the app they felt most comfortable with. We briefly discussed the feeling involved with editing someone else's picture.

Here are some of the results:
The originals are on the left.

Taken by Jared (8). - Edit by Mitch (7)

Taken by Sophia (7) - Edit by Olivia (8)
Taken by Mitch (7) - Edit by Benjy (6)

iPhotography - Day 3 (part one) - The Close Up


On day three we discussed the concept of the close-up photo. All cameras in general will only focus up to a certain distance. At that point the subject becomes blurry, and unless additional lenses or a macro setting are used, the photographer must learn to deal with this limitation. So for today's assignment students were to find interesting objects to shoot close up, within a range of 12 inches, and before the blur.
Each photo was edited with the either Pixl-r-omatic or PS Express.

Here are some of the results:
Taken by Carly, grade 6

Taken by Stacy, grade 8

Taken by Benjy, grade 6

Taken by Jared, grade 8


Taken by Mitch, grade 7

Taken by Molly, grade 6

Taken by Olivia, grade 6

Taken by Sophia, grade 6